Been getting a little bit of painting done this week for a small break, but did a few more cards. Down to 20 more, and then I'll start taking orders again from the waiting list.


 Final sketch on the illustration board, ready to paint. I haven't pulled out the brushes in a while, so I'm eager to start on this! You can see it ended up being flipped horizontally from the original ink drawing.
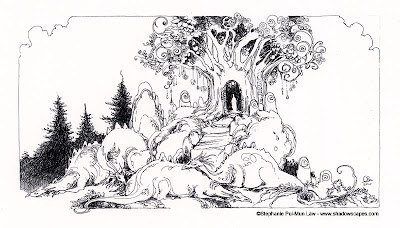 For this particular piece I'm actually using one of the ink drawings I did for the upcoming Minor Arcana book. I didn't have to do any digital tweaking of composition, however since I want to paint this at about 10x20 inches (and the original ink sketch is 5x10 inches), I resized it in Photoshop.
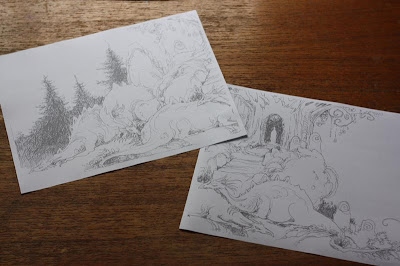 After resizing, I printed it out onto a couple sheets of paper (since it won't fit onto one sheet). Most of the time I flip the image horizontally first so that the final drawing will be oriented correctly, but I forgot to do it this time, and unless it's necessary for the image, like a musician being left handed if I forget to flip (I had flautists berate me once with a piece that I forgot to flip!), or needing to be oriented a specific way to fit the graphic design of a book/game/whatever, I don't generally worry about it too much. This is just a personal piece not meant for publication so I don't really care which way it faces.
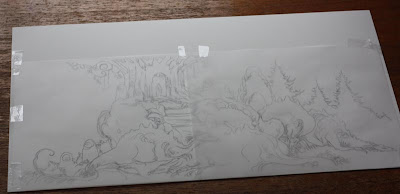 Using my thumbnail I burnish across all the pencil lines. This transfers the graphite from the tracing paper onto the illustration board, like carbon paper.
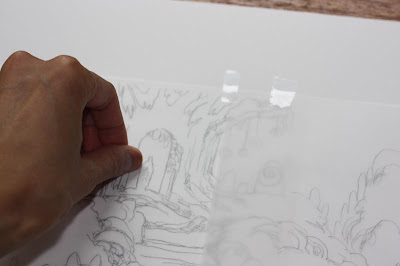 And speaking of carbon paper, if this method sounds far too tedious for you, that is an option as well. You can buy graphite carbon paper at most art stores. After printing out your modified sketch, you would just place the carbon paper between your printouts and your final surface, and trace over all your lines. I like the method I'm describing to you here instead though because it gives me a chance to reevaluate my composition with each iteration.
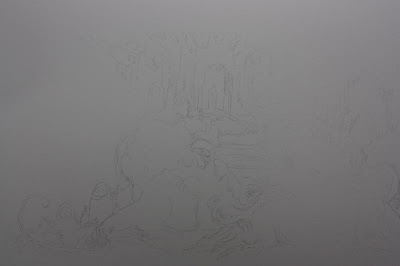 After removing the taped tracing paper you can see the image has been transferred to the illustration board. Some places I didn't press hard enough with my pencil and so it's a bit light.
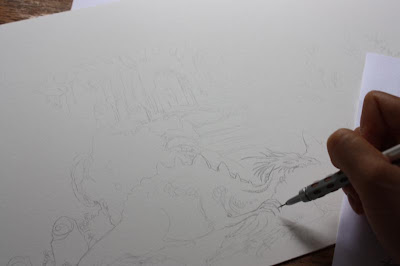 I go back in and darken and further refine the sketch directly on the illustration board. You can see the piece of paper I keep under my drawing hand as well to avoid smearing the drawing as I work.


 It feels great to be doing this much sketching, and as always I love working in ink!
 These are the trees that shape the lines of my paintings: their twistings and windings in fractal-like patterns, their beautifully contorted randomness. I consciously paint them all the time, letting my pen and brush trace the curves and wispy twigs of live oaks. Those elegant tendrils trailing into knotted strands of a spirit's beard, or reaching out in spidery long fingers. Shadowy arches in a wooded background. When I draw them I can almost smell the spicy aroma as the shadows close in around me and the cathedral pinpricks of light shine through the lattice of leaf and bough from above. I have only to raise my eyes and look out the window to have a visual reminder.
 Sausal Creek across from my house is a tangled ravine of blackberry brambles, live oaks, and ivy. It is a place of water and shifting shadows and light. At the base of the short trail that starts across the street from me, where you can cross the stream at a narrow point by teetering precariously on the rocks, the branches all arch above like a cathedral's flying buttresses and weave together to form a glorious ivy-draped amphitheater, more perfect than any painting could ever create.


 Finally set to go on this!